Capturing screenshots in Windows is very important skill. It helps you save what is on your screen, whether you want to store special memories, creating tutorials or blog posts. Sometimes, people find it tricky and challenging to take screenshots. Keyboard Shortcuts, Windows and third Party Software offers you different ways to take screenshot in windows. so you can choose the method that is best and suitable for you. In this post, we’ll go through each method step-by-step to help you take screenshots easily.
Different Ways to Capture Screenshots in Windows
1. Using Keyboard Shortcuts to Capture Screenshots in Windows
- Win Key+ PrtSc
- Press Windows Key + Print Screen Button (PrtSc) .
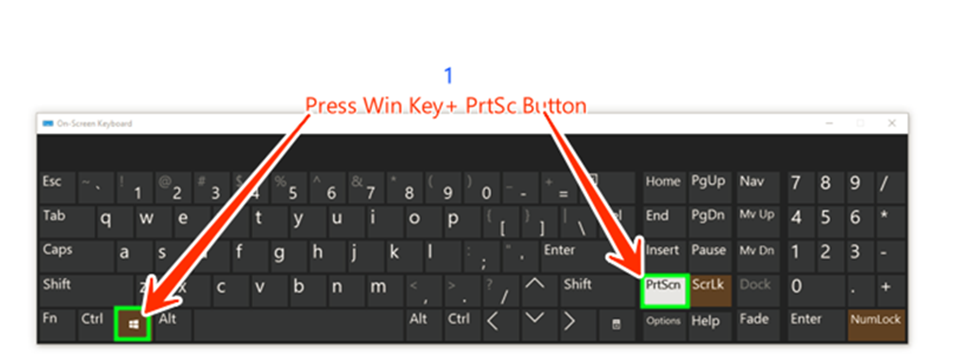
- After pressing window key+ PrtSc Button the captured screenshot will be automatically saved in the “Screenshots” directory located inside the “Pictures” directory.
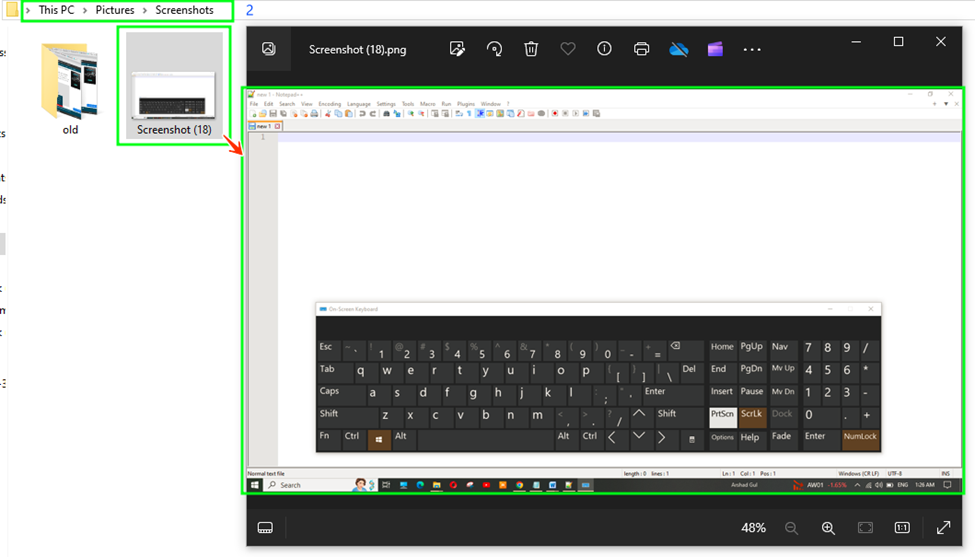
- This method captures the entire screen and saves it to your computer screenshots directory located within the pictures directory.
- Print Screen Button (PrtSc)
- When you press the Print Screen button (PrtSc) button it captures the entire screen and copies it to the clipboard.
- Open Microsoft Word paste the screenshot (Ctrl + V), right click on the picture and select save as picture, save it where you desire.
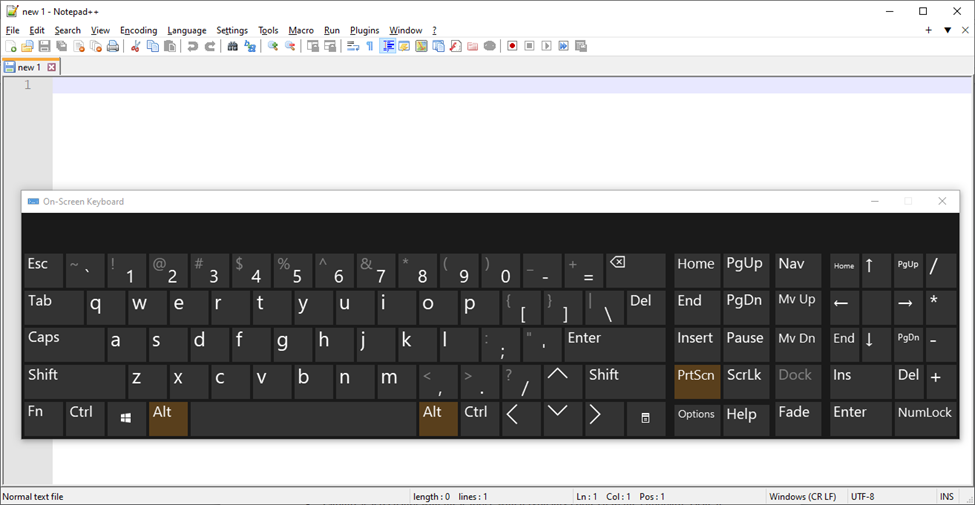
- Press Alt+Print Screen Button (PrtSc)
- When you press Alt + Print Screen it captures the active window and copies it to the clipboard.
- Open Microsoft Word paste the screenshot (Ctrl + V), right click on the picture and select save picture, save it where you desire.
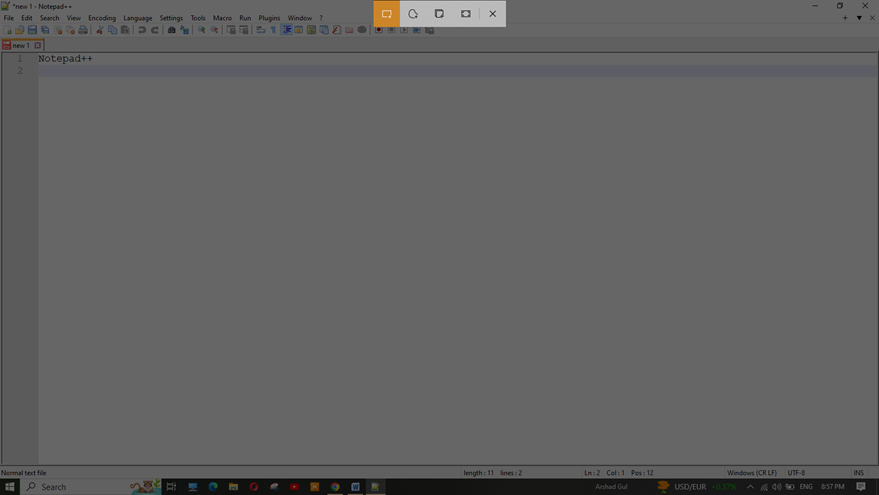
- Window Key +Shift+S (For Snip & Skech Tool)
- Press the Window Key +Shift+S
Select the area you want to capture. After selecting the area, a floating window will appear in the bottom right corner of your screen. Click on this floating window.
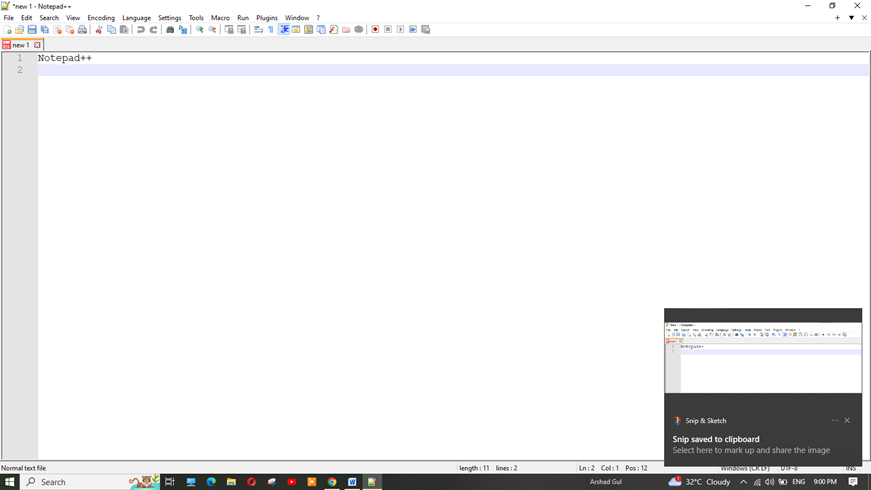
Edit the screenshot as needed, then choose to either save it or copy it to the clipboard.
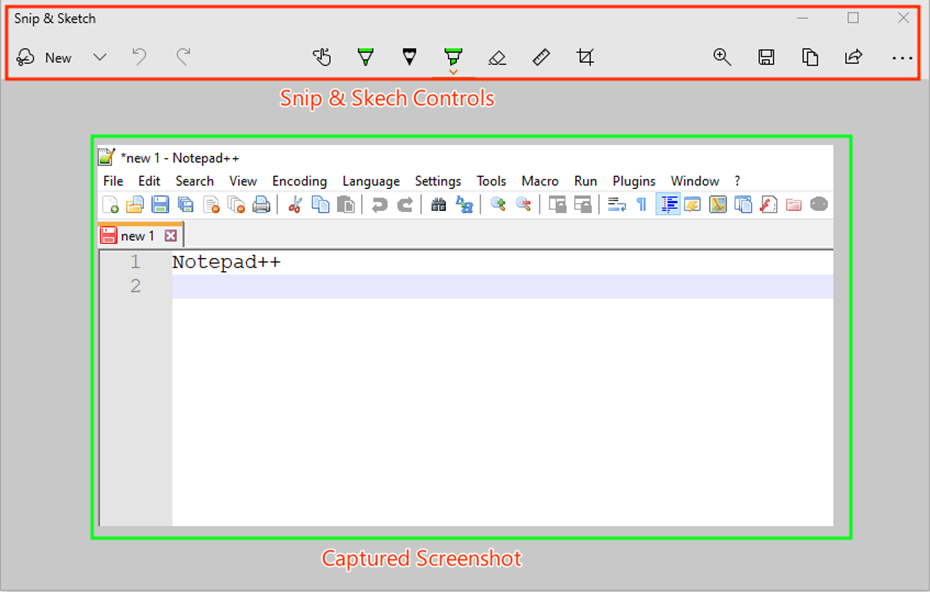
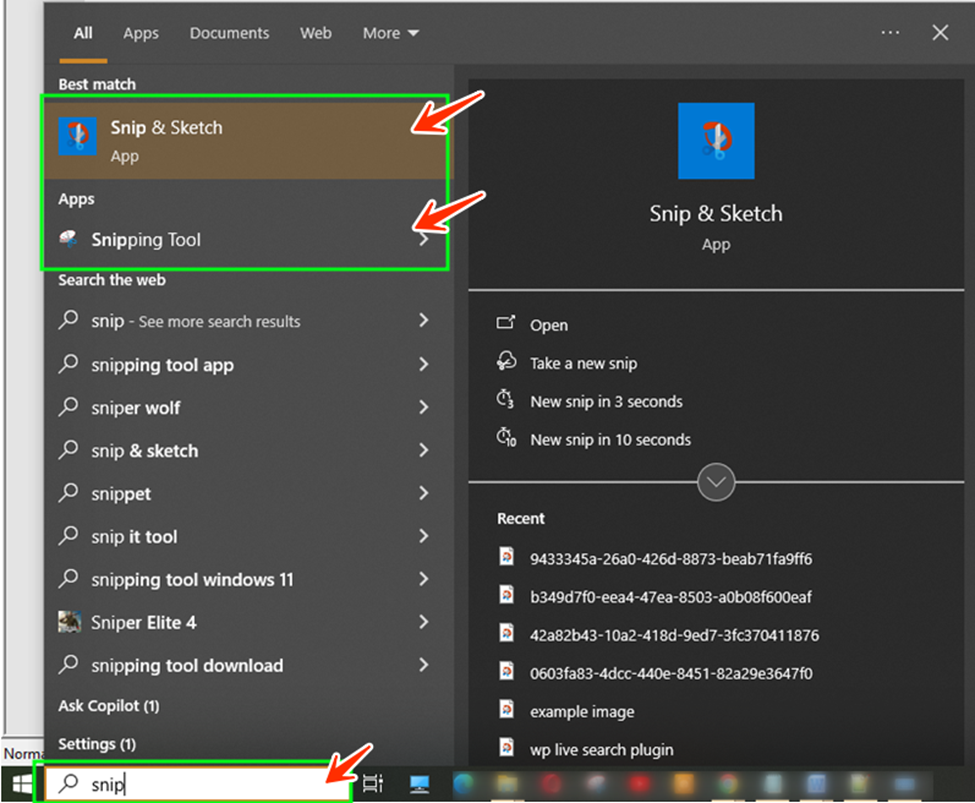
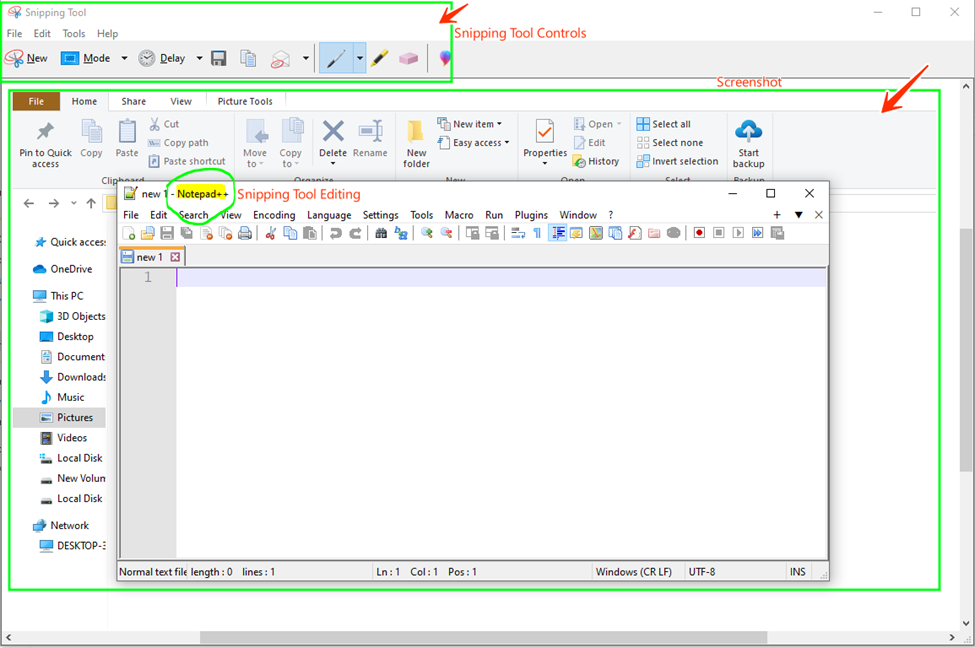
2. Using Snipping Tool or Snip & Sketch App to Capture Screenshots in Windows
- These built-in tools allow you to capture custom screenshots of specific areas of your screen.
- Launch the tool, capture the area, and save or annotate the screenshot as needed.
- Use tools like Snip & Sketch for annotations, highlighting, and edits before saving or sharing your screenshots
3. Use Third-Party software (i.e Icecream Screen Recorder)
- Download Icecream screen Recorder and launch it
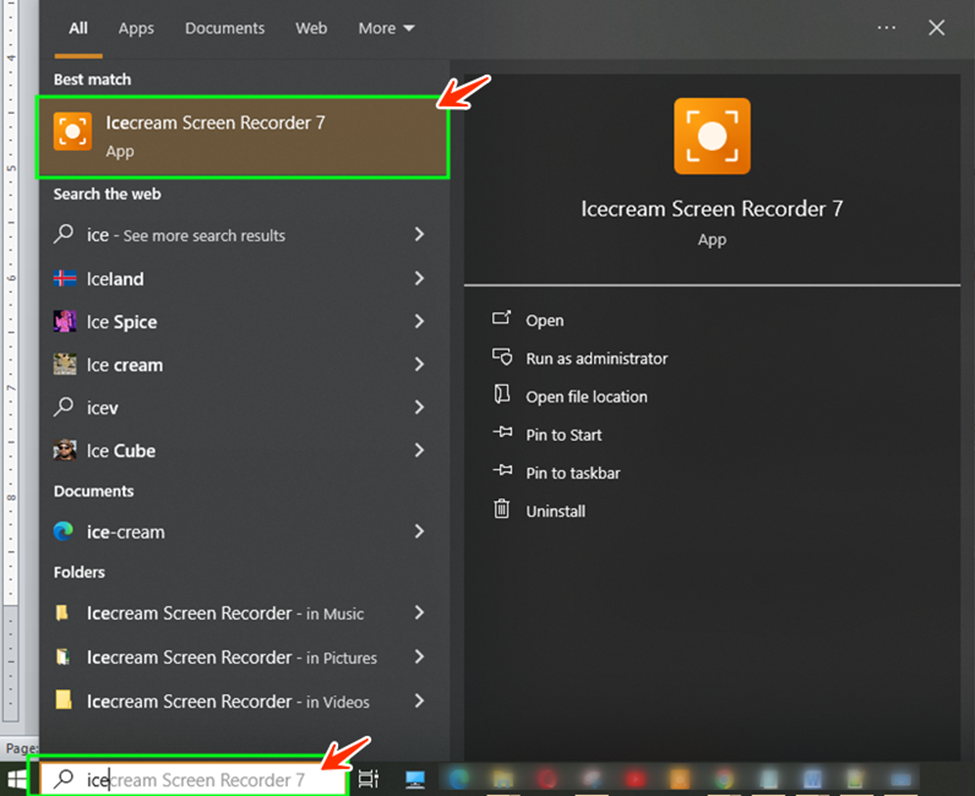
- After Capturing a screenshot on icecream screen recorder, it is copied to the clipboard. Open Microsoft Word paste the screenshot (Ctrl + V), right click on the picture and select save picture as, save it where you desire

- Third-party tools and applications offers advanced features like screen recording and editing options, such as adding notes, highlighting and special effects.
CHOOSING THE RIGHT METHOD
- Use Windows Key + Print Screen for instant and quick screenshot saving.
- Use third-party software like icecream screen recorder for more editing options, such as adding notes, highlighting and special effects etc.
- Use tools like Snip & Sketch or Snipping Tool to capture the exact selections.
- While creating blog posts, you can utilize and take advantage of all these methods to capture and manage screenshots.
This blog post explores different methods to capture screenshots on Windows. It covers both the default built-in (such as keyboard shortcuts and built in snipping tools) methods and third-party tools and applications for capturing and managing screenshots.